
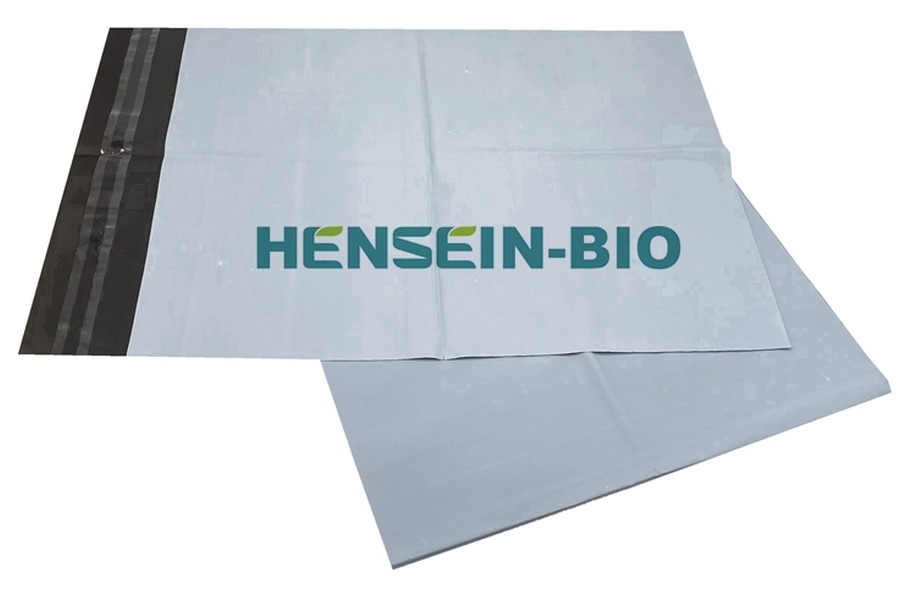
Approve a compostable mailer closure on a filled pack prepared the way your packing team works. Begin with the correct flap reach and a clean contact area. Press the strip consistently, give it the agreed time before handling and check the flap again after a representative transit trial. Record where the pack first starts to open. The same lifted corner can result from poor contact, a short flap, stress from the contents or an adhesive problem. A flat empty mailer on a bench cannot distinguish all of those cases.
Start with the orders you intend to ship. Pick a routine garment pack and the bulkiest pack the same mailer is expected to close. If your line packs parcels and transfers them to a cart within a few minutes, reproduce that interval. A comparison run after overnight storage can be useful too, but it describes a different point in the process. Keep both results if both intervals matter.
Identify what actually has to bond
The flap brings the adhesive to the part of the bag it will touch. The pressure-sensitive strip provides the bond. A removable release liner protects the adhesive until use. The bag body presents the landing area. On a two-strip mailer, identify which strip closes the outward shipment and which is reserved for the return. Identify where each release liner goes and whether opening the first shipment changes the surface available for the return.
Look at the clothing mailer product with an adhesive flap to identify the basic construction. Request a dimensioned sample for the particular version and mark the adhesive strip, liner, flap fold and intended contact band. If the buyer still needs to settle the size for apparel orders, use the apparel mailer sizing and flap-fit guide before comparing the adhesive. Extra bulk at the mouth can pull the flap up while the rest of the package looks comfortably sized.

Close one empty sample gently and another around the agreed reference load. Use the empty sample to see the intended alignment. On the filled sample, check how much of the strip actually lands on a flat area. A wrinkle may cross only one end, or a garment corner may push up the contact area near the fold. Mark those features on a photo of the closed pack. Also record whether printing or a shipping label shares that area, since changing the landing surface changes the question you are testing.
Give the samples the same starting conditions
- Label the mailer, adhesive specification if available and lot before opening the pack. Keep the candidates in comparable storage and record the conditions relevant to your line.
- Prepare the same contents, fold and any inner pack. If you are evaluating the most crowded case, reproduce the same packed thickness for each candidate.
- Clear the landing surface of anything that the normal packing process is intended to exclude, including loose fibres or condensation. Use the supplier's preparation instructions for the trial and record them.
- Remove the release liner and close along the defined line without touching the adhesive. Use the agreed pressure application and record whether the operator used a hand pass, roller or other fixture.
- Record the time of sealing and the time of the first check. Use an interval that represents dispatch and a separate interval for any later check you need.
The usual pressure from an operator's hand is useful for a packing trial if that is how the order will be sealed. It is difficult to reproduce exactly in a comparison intended to isolate the tape. For that narrower question, ask the supplier or lab to agree a method and document the applied conditions. In either case, keep the person or fixture and the method on the record. When a candidate works only after an unusually deliberate second press, decide whether the packing line can repeat it.
If dust, lint or cold conditions are part of a real dispatch problem, add a separate run with the relevant condition. Use a clean baseline to see how the samples behave under the intended preparation. Do not mix a contaminated sample into the clean group and use one average result. It is more useful to record the affected surface, the condition and the kind of opening it caused.
Record lift, separation and the first damage
After closure, look across the contact strip and note any part that is visibly unbonded. Photograph each end of the flap. Check again after the set interval and handling. Observe whether the same corner lifted farther, the film wrinkled back under stress, the adhesive left one surface or the flap material tore. If the package opens, preserve it long enough to distinguish a strip that released from the bag body from a strip that stayed bonded while the film split.
For a peel observation, write down how the pack was held and which part was pulled. Hand peeling can help locate the failure interface. It gives no reliable numerical comparison across different grips or speeds. If you need a measured peel value for a pressure-sensitive tape, ASTM D3330/D3330M's public scope covers several tape peel methods, including a distinct method for release-liner adhesion. Ask the lab to confirm an applicable setup and record the surface, specimen width, peel geometry and conditions. ASTM also cautions against assuming a direct relationship between peel measurements and functional requirements.
For an order approval, include the filled mailer in the route you intend to use or an agreed laboratory simulation. The package can go through packing, staging and sorting before it reaches a customer. A small corner lift may grow if that corner catches on another parcel. A pack under tension may open gradually while held in a cart. Agree with the buyer or testing lab which events the trial represents and how the package will be examined afterwards. ASTM's packaging standards list includes distribution and single-parcel package test practices. Use an applicable current procedure if a formal assessment is required.
| Test record | What goes in the field | Why it helps |
|---|---|---|
| Filled pack | Mailer drawing, sample lot, garment fold and packed thickness | Separates a fit difference from a change in the strip |
| Landing area | Film, print or coating in contact and visible folds | Shows what the adhesive actually touched |
| Closing method | Alignment, pressure application and operator or fixture | Lets another person reproduce the closure |
| Time and environment | Interval before first move, staging and relevant temperature or moisture | Shows when the observation applies |
| Handling | Route or agreed test sequence with inspection point | Connects an opening to the event that exposed it |
| Failure | Location, whether adhesive or film separated, and photo | Helps identify the next change to evaluate |
Read the failure before requesting a different adhesive
Suppose two filled samples have a loose corner. On one, that part of the strip never contacted the body because the folded garment pushed the flap out of line. On the other, there was contact across the band, but the edge started to separate after handling. The first result suggests changing the pack geometry or flap reach and rechecking contact. The second gives the lab a better reason to examine the bond or the surface and preparation. If both samples are recorded simply as “weak seal,” the next round may change a material while leaving the packing problem in place.
Record faults individually. A small cosmetic wrinkle, adhesive transfer to the opposite surface, and an opening that exposes contents carry different implications. Agree on which observations block approval. If you need evidence that the parcel shows a visible sign after opening, define the opening action and what an observer should see. A mailer that is hard to peel by hand may still lack the indication the retailer expects. A return version also needs a check of how the customer opens the first closure without removing the parts needed for the second.
Keep a sample that closed successfully as a reference and label the version of the adhesive arrangement. A change in film, surface treatment, ink, release liner or flap dimension can affect the setup. When reviewing a revised sample, repeat the relevant closure trial under the same conditions and document the changed component. Save the samples that fail as well. Adhesive residue and film distortion can become harder to interpret after someone repeatedly peels and re-closes a flap.
Check a change across the pack sizes that use it
If a mailer comes in a family of sizes, select the sizes that put the adhesive in different working conditions. A short flap on a thick garment and a long flap on a thin garment may contact the same film but land under different tension. Include the size that has the smallest usable contact band after normal filling. For each size, draw a line at the agreed fold point and photograph the landing area with the contents in place. Record which part of the pack family the trial actually covered.
Keep the reference pack after any correction. For instance, if a loose corner disappeared after the fold was moved, try the same old and new fold on fresh mailers before you attribute the improvement to a simultaneous tape change. If the design now relies on a new alignment line, have the packing team close a few specimens without help and record whether they can find it on the bag. A clear method on the line can be as important as a successful demonstration by the sample maker.
For a return mailer, run the outward and return stages as a sequence on the same pack. Keep a fresh sample for a standalone second-strip check if you need to determine why a returned parcel opened. A strip that works on a pristine landing area may behave differently after the customer has removed a label, torn the opening line or folded the bag differently. Record the customer-facing instruction used in the trial.
Match any compostability statement to the whole construction
Performance approval and compostability documentation have different jobs. Ask which finished mailer, materials and thicknesses a certificate or test record covers. Identify the adhesive, any coating or print, and each liner that the user removes before disposal. Check whether the finished construction listed in the documentation includes the adhesive system used on the order. Confirm which parts a user is instructed to remove, using the wording approved for the actual claim and market.
BPI's certification schemes describe how the organization evaluates finished products, resins and components. If a claim cites a different scheme, check that scheme's scope and the exact listing as applicable. A film report can provide information about the film. Match the finished mailer claim to the configuration shipped to the customer and to the parts named in the disposal instructions.
Use the self-adhesive courier bag range to choose a construction to sample. When you send a mailer closure brief to HENSEIN-BIO, include the packed garment dimensions, flap drawing, landing surface, interval before dispatch and any photo of the first lift or split. State whether the sample is for an outward-only order or an outward-and-return cycle so both relevant closures can be checked.