
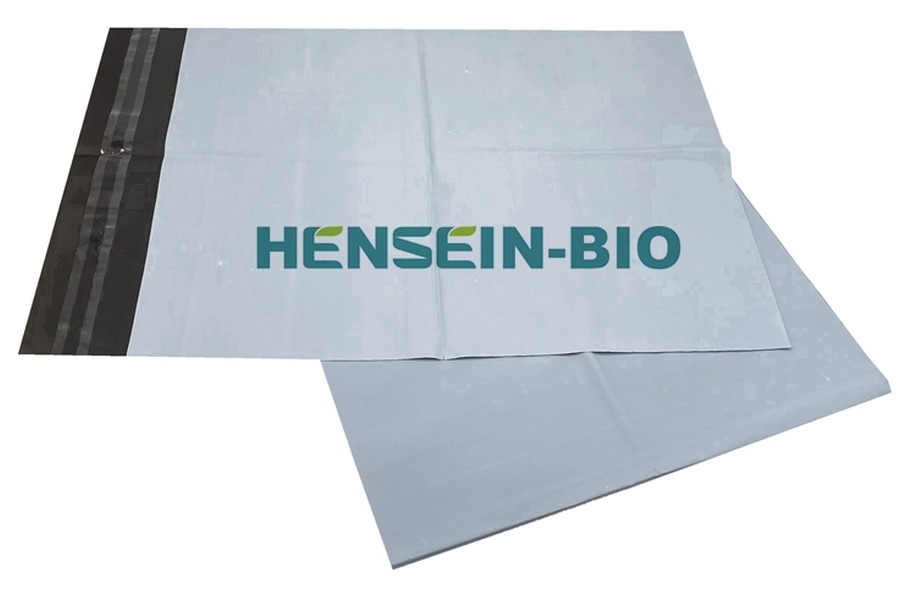
Measure the garment after it has been folded and packed in the way your fulfilment team will ship it. Record the bundle's width, length and thickness, including any inner bag, insert or protective layer. Then compare that bundle with the mailer's usable internal body dimensions and closure arrangement.
A clothing size such as medium or extra large cannot define a mailing bag. Two garments with the same size label may fold differently, and two mailers with the same advertised length may include different flap allowances. A useful size choice connects the packed order, the dimension convention and a repeatable packing trial.
Measure at the packing bench
Prepare a representative order using the normal folding method. Include the actual number of garments, swing tags, tissue, inner packaging and any inserts that will travel inside the mailer. Measure the completed bundle without pressing it into an unusually compact shape just to obtain a smaller figure.
Use a flat surface and record the widest, longest and thickest parts. A folded collar, waistband or corner can create a local thick spot that is easy to miss when measuring only the middle. Note whether the bundle holds its shape or expands after the packer releases it.
Keep the folding method identifiable. A photograph can help another operator repeat it, particularly when an order combines several items. The aim is a package description that another shift can reproduce without relying on the person who prepared the original sample.
Select the order cases deliberately. Include a typical order and the larger or less regular combinations that the same mailer is expected to handle. If a rare order needs a different package, identify that exception. Making every mailer large enough for an unusual bundle can leave the common order with unnecessary space.
Ask what the supplier's length includes
On a flat adhesive mailer, distinguish the usable body from the fold-over flap. Mark the bottom seal, opening edge, adhesive position and intended fold line on a drawing. State whether outside dimensions or internal usable dimensions are being quoted.
The flap is part of the closure. It is not extra storage length that can automatically be assigned to the contents. If the bundle occupies the space needed for folding and pressing the adhesive, the packer may obtain an apparently closed bag with a distorted or poorly contacted closure.
The Better Packaging compostable mailer size guide lists length, width, flap and number of seals separately. Those are that company's product fields, not HENSEIN-BIO supply specifications. They illustrate the dimension distinction a buyer should preserve when comparing quotations.
For a relevant HENSEIN-BIO format, see the custom printed clothing mailer product. Confirm the usable body and flap measurements for the proposed bag before selecting a size from a title or photograph.
| Drawing field | What to make explicit |
|---|---|
| Finished outside width | Where the measurement starts and ends, including any side seals |
| Usable internal width | Space available for the packed order |
| Body length | Opening-to-bottom convention and usable internal length |
| Flap length | Whether it is additional to the body measurement |
| Adhesive arrangement | Strip position, intended fold and any separate return closure |
| Gussets, if present | Folded and opened dimensions on the actual construction |
Allow the flat film to travel around thickness
A flat bag must wrap around a three-dimensional bundle. Part of the flat width becomes the sides of the filled package. Comparing the bundle's top width directly with the bag's flat width therefore understates the space needed.
For a simple rectangular bundle in an ungusseted bag, width plus thickness is a useful geometric starting point for thinking about the required flat width. It is not a finished-bag sizing formula. Seals, insertion clearance, shape variation and the way the film bends still need to be considered and tested.
Take an illustrative bundle measuring 230 mm wide, 290 mm long and 40 mm thick. Its rectangular cross-section has a perimeter of 2 × (230 + 40) = 540 mm. Two flat panels together would need to span that perimeter, suggesting 270 mm of flat width before practical allowances and construction effects. These are hypothetical dimensions, not a recommended HENSEIN-BIO mailer size.
The calculation explains why a nominal 230 mm-wide flat bag would be a poor starting assumption for that bundle. It does not tell a buyer which catalogue size to approve. A rounded soft bundle, projecting tag or different fold can change how the order enters and sits in the bag.
Length needs the same care. The film must accommodate the bundle's depth at the bottom and leave the closure area usable at the top. Measure those conditions on a filled sample rather than subtracting the bundle length from the printed overall length and assuming the remainder is all spare space.
Try insertion before testing the adhesive
Give the packer the proposed mailer and the prepared order. Ask them to load it using the normal bench layout and handling sequence. Watch the mouth and the bulky corners as the bundle enters. Record whether the packer has to stretch the opening, force a corner past a seam or compress the garment differently from the agreed fold.
Keep a size problem separate from an opening problem. A bag mouth that is difficult to separate can slow loading even when the internal space is adequate. A readily opened mouth does not establish that a bulky bundle fits comfortably through it.
Once the order is inside, let it sit naturally before closing. Check whether the bundle pushes into the bottom seal or creates tight points along the side edges. Observe any spring-back from compressed clothing. A size selected while the packer holds the garment down may behave differently after the packing pressure is released.
Try unloading the sample as part of the fit review if customer removal is relevant to the design. A bag that only accepts the order through an awkward forced insertion can also create an unnecessarily difficult opening experience. Keep the required customer opening method with the packaging brief.
Check the flap on the filled package
Bring the flap to its intended closing position without stretching it to reach. Check that the adhesive can meet a suitable, reasonably even area of the bag body and that the packer can apply the intended pressure across the closure. Note bunching, an uneven fold or contents that obstruct that contact.
Do not treat a flap pressed flat on an empty mailer as approval of the filled package. The order's thickness changes the fold and the available contact area. Repeat the closing step with the larger approved bundle, particularly where its corners sit close to the opening.
If the design includes a second closure for a return journey, identify which strip belongs to each stage. Check the opening path and the space remaining for the return closure after the first journey. A second strip does not create a useful return design if opening the bag removes the material needed to use it.
Keep adhesive performance claims separate from dimensional fit. A filled sample can reveal poor contact caused by size or shape. It cannot, by itself, establish closure performance under every storage and delivery condition. Specify the conditions for any additional closure or transport evaluation you need.
Compare candidate sizes on the same orders
Trial the same prepared order in each candidate size. When the purpose is to assess dimensions, keep the construction and closure arrangement comparable. If film thickness or adhesive layout changes as well, describe the exercise as a comparison of complete mailer designs.
Record observations that will help select a size, rather than simply asking which sample looks neater. A practical sheet can include the following fields.
| Order case | Packed dimensions | Candidate bag | Loading | Closure | Result to investigate |
|---|---|---|---|---|---|
| Typical order | Width × length × thickness | Reference and usable dimensions | Free insertion or named difficulty | Fold and contact observations | Any pressure point or excess space |
| Bulkiest intended order | Measured as normally packed | Same candidate | Corner and seam observations | Flap reach and contact | Whether another size is required |
| Irregular order | Include projecting areas | Same candidate | Orientation used | Distortion after closing | Exception or separate packing method |
Keep the actual dimensions and notes in the working version of the sheet. The example row descriptions are prompts, not test results. If the team assigns ratings, define them before trialling and retain the reason behind each score.
Where a small candidate works only after a special folding change, decide whether the operation can maintain that change. Compare the resulting process as well as the bag. Otherwise the procurement team may approve a size that ordinary packing staff cannot reproduce at the intended workflow.
Consider labels, presentation and dispatch limits
Reserve space for the shipping label on the filled mailer. Check that the label can sit on a suitable area and that important information remains readable. A label fitted neatly to an empty sample can cross a ridge or corner once a bulky order is inside.
Review the external packed dimensions against the carrier service and packaging rules that apply to the shipment. Do not use the empty bag's nominal dimensions as the completed parcel dimensions. Carrier pricing and acceptance rules vary, so check the actual current service rather than assuming a smaller empty bag automatically produces a particular charge.
For a translucent construction, assess how the packed goods and inserts appear through the film. A size decision does not establish privacy or opacity. If the external package must conceal the contents, state that requirement and evaluate the proposed construction separately.
Printed artwork also changes its appearance around the bundle. Check that the main branding and required text remain visible when the mailer is closed, and that neither the shipping label nor a folded flap covers information the customer needs. Keep the accepted filled appearance with the bag's size drawing.
Approve a size range with defined exceptions
The final choice may be one mailer for several regular order cases and another for a bulkier group. Keep the allocation understandable to packing staff. A short rule based on an identifiable order configuration is easier to apply than a judgement that each parcel should “feel snug.”
Retain the packed examples and the dimensions that support the rule. If a garment's fabric, fold, accessory or inner packaging changes, check whether it still fits the approved case. A change in garment presentation can affect the package even when the retail clothing size is unchanged.
Record agreed dimensional tolerances with the supplier and consider the usable space at the relevant limits. A nominal sample that fits with almost no margin may leave little room for variation in the bag or the packed goods. Ask for further samples when the trial cannot resolve that question.
Use the courier and mailing bag range to identify formats for discussion. Send HENSEIN-BIO your packed apparel measurements and mailer drawing, including body dimensions, flap arrangement, the order cases you want covered and the observations from your packing trial. That brief makes the next size discussion specific to the parcels you intend to ship.